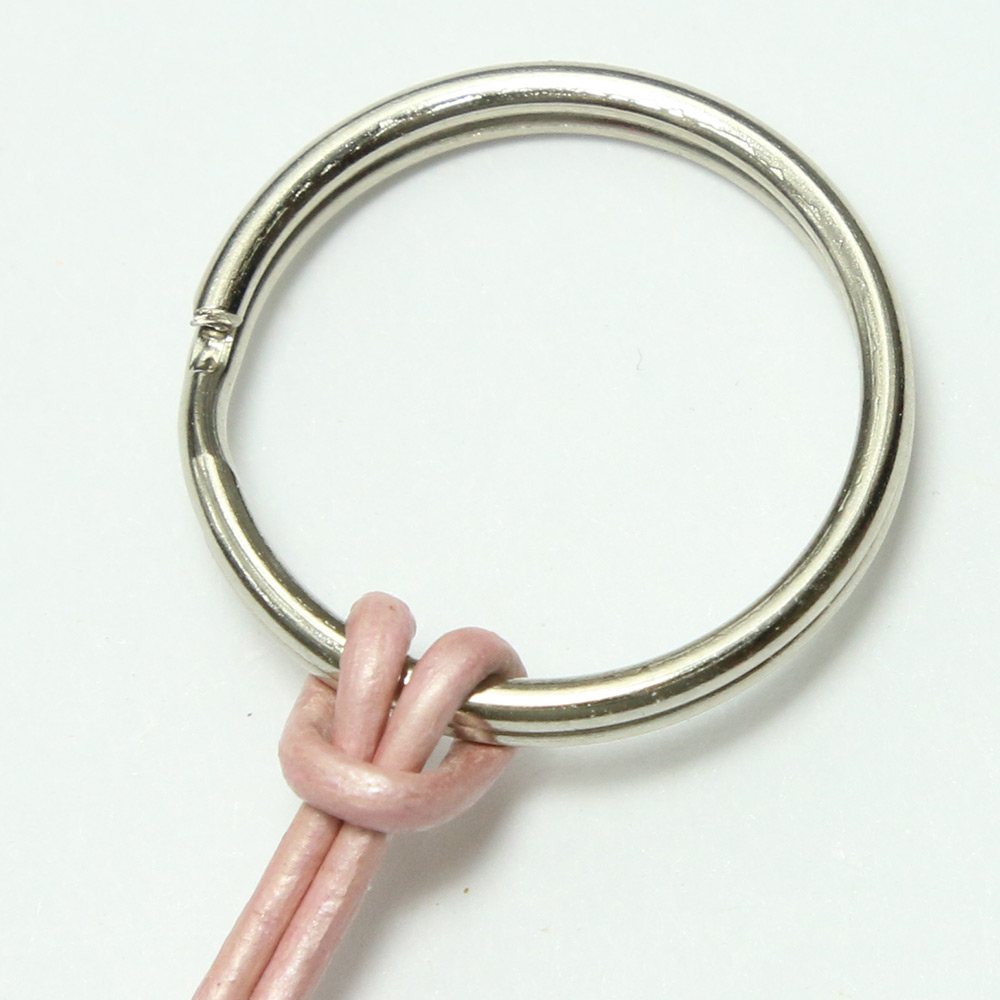
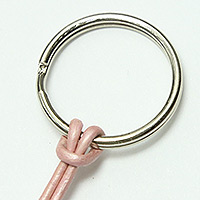
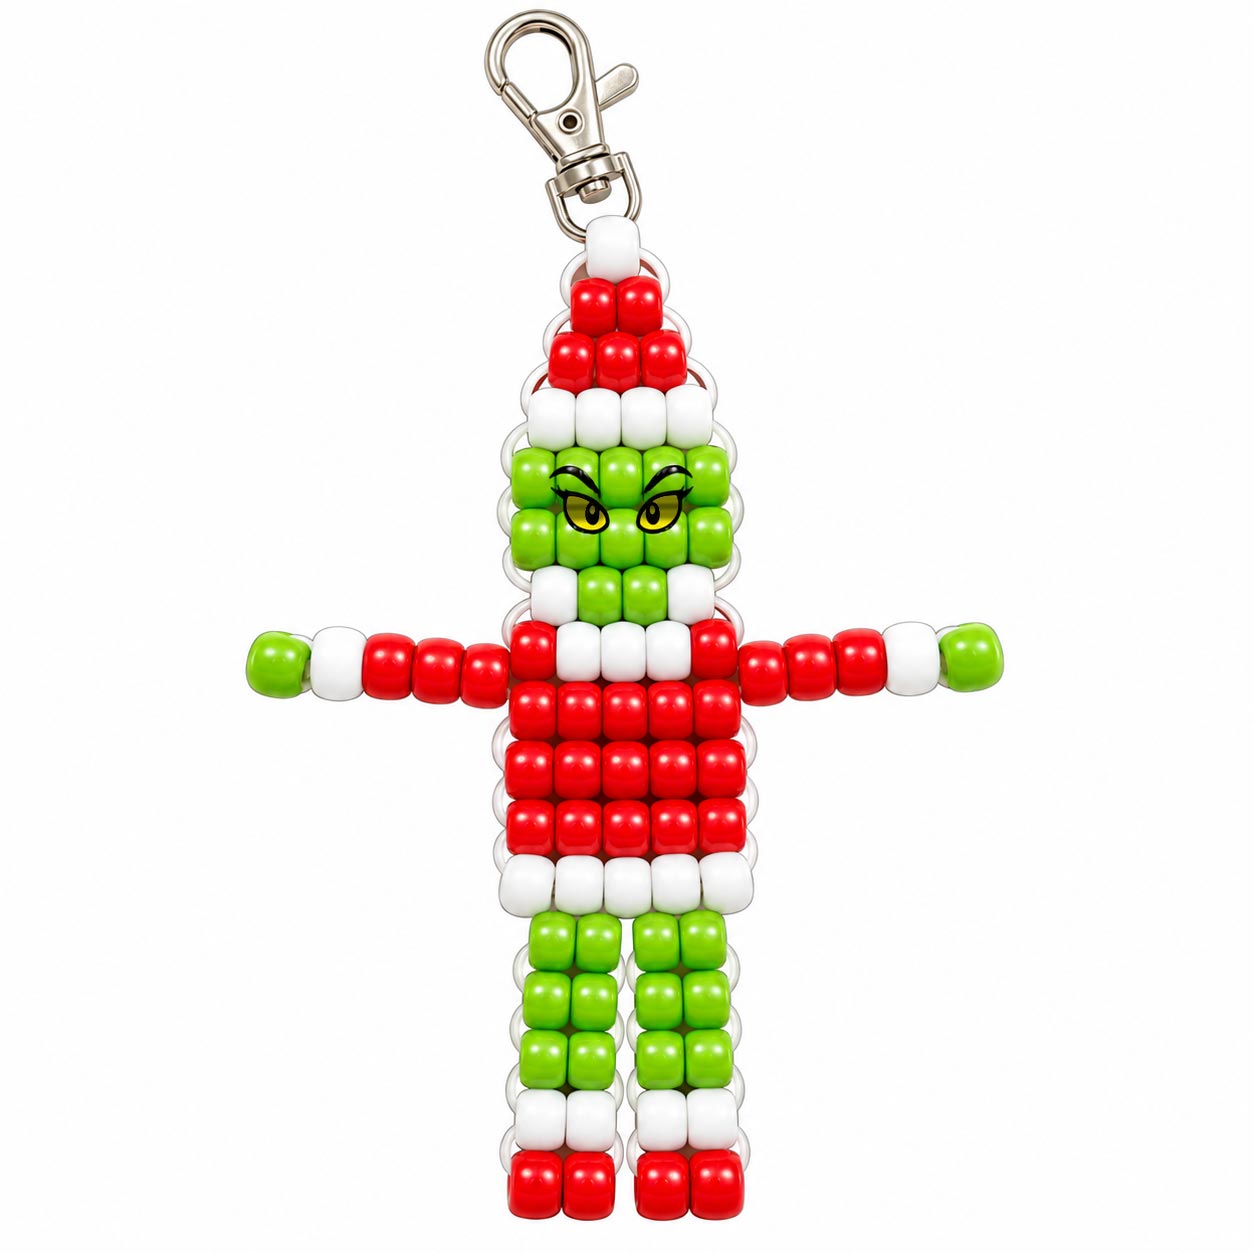
 1. Locate the halfway point of your cord or lacing and fold it in half. Attach the folded cord to your key ring using a lark's head knot as shown in the photo. You should now have two cords of about the same length hanging from the key ring.
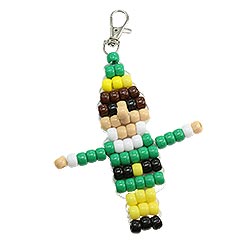
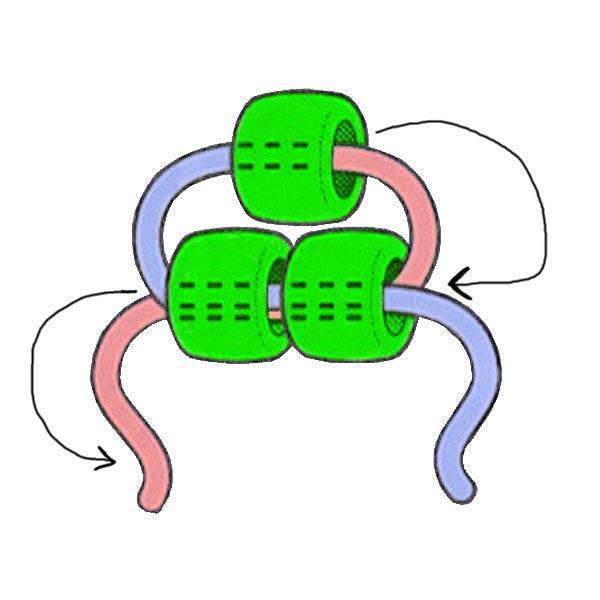 2. Using the bead diagram for the grinch keychain located at the bottom of these instructions, begin weaving the rows of beads. Pass one cord through the row of beads, then pass the other cord through the same beads from the opposite direction as shown in the illustration. Pull both cords until the new row rests against the previous one.
3. Continue following the pattern from the top of his hat downward. The arms are created with one side of your cord. Thread the appropriate beads through the bead stack, out the end, around the last bead and back through the other beads back to the body.
Note: The tension of your cord does make a difference. The rows should sit snugly together without being pulled so tightly that your grinch begins to curl or twist. If a row doesn't sit straight, loosen it, straighten the beads with your fingers and pull the slack out again.
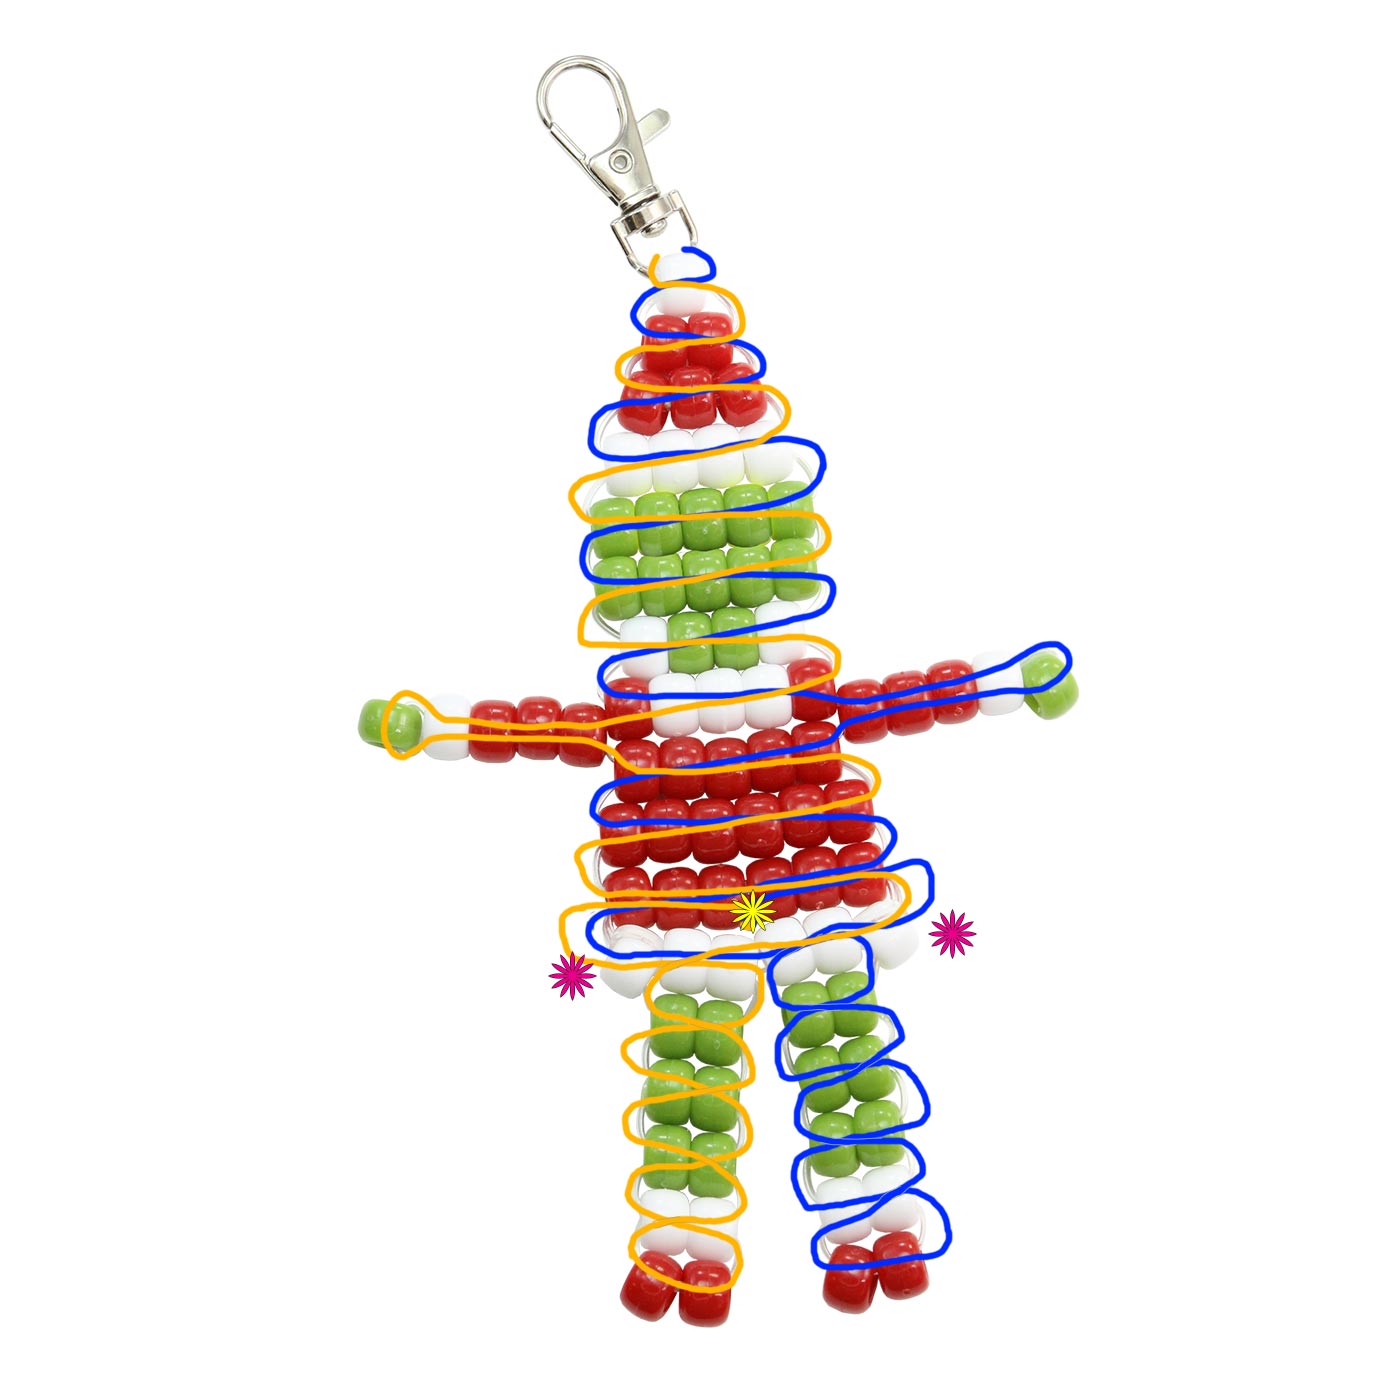
4. Continue to the bottom of the pattern. The diagram for the grinch's legs may seem a little confusing because the cord passes through only the first 5 beads of the white row, leaving the 6th bead unthreaded. (That is not a misprint.)
To make each leg, thread all of the beads for the leg onto one cord. Starting at the bottom of the leg, begin working the crossover back UP through the beads toward the body. When you reach the top, from the center of the row go back through the last 3 beads towards the outside, and bring the cord out where the pink star is shown on the diagram. Repeat with the other cord to make the other leg.
If you want to stop and tie off the two cords here at the pink stars, that's fine. Skip down to the next step. I always try to be a little creative and hide my cord ends when possible. If you'd like to finish yours the way I did, feed each cord end back through the first 3 beads of the last 6 red bead row. At the very center, where the yellow star is shown, bring both cord ends out. Knot and glue them, then push the ends of the cord back inside the beads where they become invisible.
5. Tie the cords together with a surgeon's knot or a good double knot. Add a small drop of craft glue to the knot for a little extra security. Let the glue dry, then trim away the excess cord.
The diagram below uses orange and blue to show the paths of the two ends of the cord. Click the diagram to open a larger version whenever you need a closer look.

 24 - Green Pony Beads
 22 - White Pony Beads
 34 - Red Pony Beads
 2 - Yellow Pony Beads
 1 - Key Ring
 5 feet
 Scissors
 Ruler or Measuring Tape
 Craft Glue