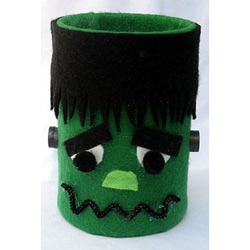
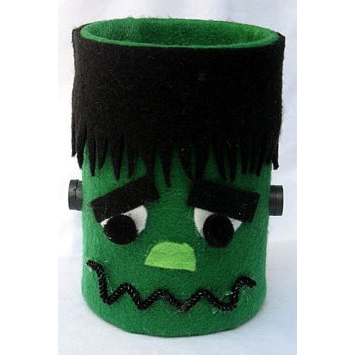
Make sure can does not have any sharp edges around the opening. If it does, use a piece of sandpaper to sand them down.
Lay green felt on work surface. Lay the can down on to the felt. Roll the can up in the felt to see exactly how much you will need to go all the way around the can. Trim, leaving about 1/2" overlap. Leave about 1" overlap that will fold over the bottom of the can as well as a 1" overlap for the top (mouth) of the can. Glue the green felt around the can, glue the excess overlap to the bottom and inside the mouth of the can.
To create the hair, lay the black felt on the work surface and place the can on top like you did for the green. Roll can up in the black felt and measure about 2" down from the top of the can. Trim excess. Before attaching black felt, cut one side in a grass-like scissor cut for the hair.
Glue the hair in place, lining up the straight edge with the top of the can.
Cut out the patterns for the eyebrows from black felt and the eyes from white felt. Glue in place (see photo).
Cut out the pattern for the nose from the light green felt and glue in place.
Cut chenille stem into a 4" long piece. Bend into a squiggly mouth as shown in the photo. Glue in place.
Glue the black pom poms to the centers of the white eyes.
Place 2 round magnets on each side of the head for the bolts, no glue required! The magnets should stick through the felt directly to the can. You can glue them in place if you prefer.
Let him dry before filling with candy, pencils or anything else you can think of.


